After recently launching Automated actions that make assigning tags and sentiment to your mentions completely effortless, Mediatoolkit is now packed with yet another new feature!
We’ve updated our brand reports with the option to fully customize them and create Branded reports with your own logo, color scheme, title, and so much more. It’s a great way to share data with your colleagues, team leaders, or clients, all while staying consistent with your brand image and visual identity.

Let’s begin!
What Are Branded Reports
By now, you’re probably already acquainted with our brand reports.
They are a visually stunning presentation of all your media intelligence that is created in minutes and easily shared outside the tool for reporting, further analysis, or future reference.

But, having spent a lot of time perfecting your brand image to stand out from the crowd, it would be remiss not to incorporate your visual identity into your reports as well.
For that reason, we’ve upgraded our standard reports to be fully customizable while still being equipped with ample information about your online presence, audience insights, and competitive intelligence.
Branded reports options
With the new Branded reports feature you can:
- Upload your logo to show on the front page, header, and footer
- Add logo(s) to the header and footer of your PDF export
- Change:
- background colors of front page, header, and footer
- the text color of front page, header, and footer
- title and description of the report before downloading
- Opt to add glossary and choose its placement
- Change the orientation of your report
- Show/hide page number
- Show/hide the reporting period on the front page.
So, whether you’re a part of a large organization and need to internally report the executives of your results or your agency wants to make data sharing with multiple clients more professional and personalized, Branded reports will allow you to take reporting up a notch.

You can create a custom report based on the predefined Basic report, Advanced report, and Competitive analysis, as well as any custom dashboard you might craft according to your needs and goals within various realms of PR and digital marketing.
Note that Branded reports allow you to customize the Reports PDF only, and those changes do not affect or alter your exports, digests, or alerts and are not possible to do with our API.
For a fully branded solution, you might want to consider a white-label application.
How to Access Branded Reports
The new Branded reports feature is available for all existing and new Determ customers, starting from the Optimal plan.
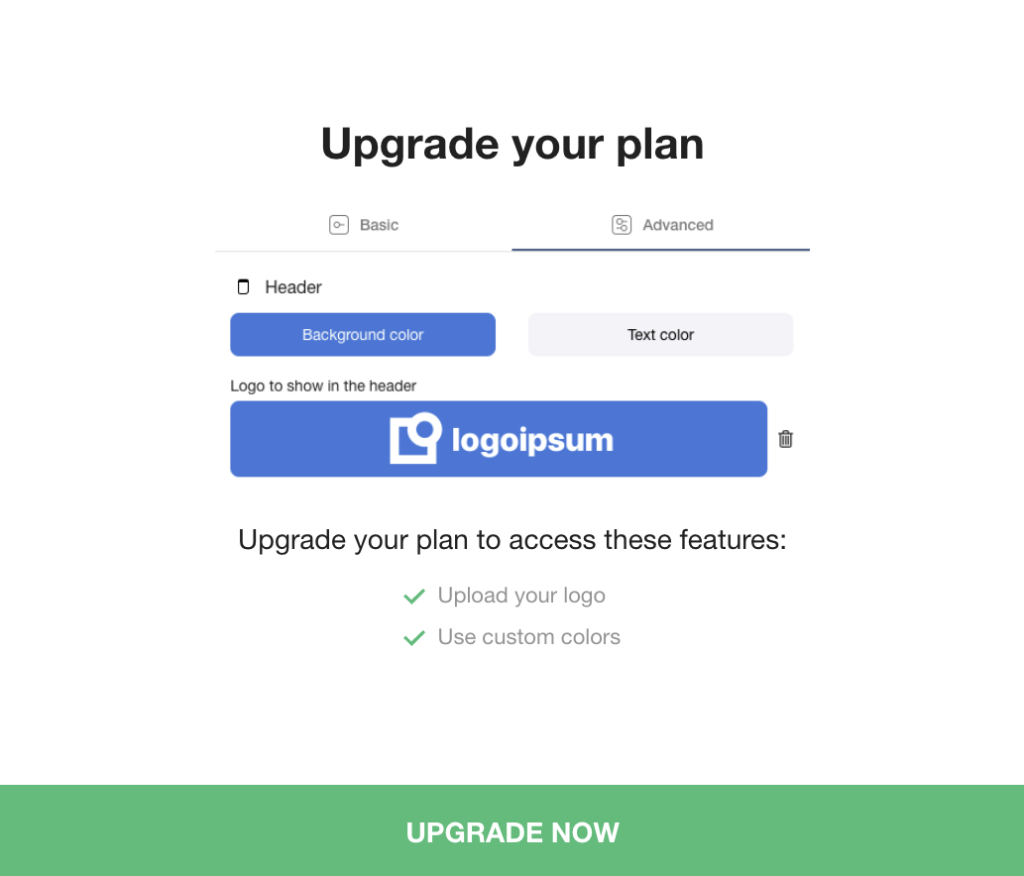
If you’re currently on a smaller plan, but want to use Branded reports, you can upgrade your plan to access the new feature.
Other than by clicking on the link above, you can also upgrade your plan:
- directly from the tool (a popup as shown in the image below will appear once you click on the Download button and choose to Customize your brand report),
- by getting in touch with our team via the tool chat,
- by contacting your Account Manager.
How to Create a Branded Report
The process of customizing your report and thus creating a Branded one is extremely simple and will take only a few moments.
To start, log in to your Determ account.
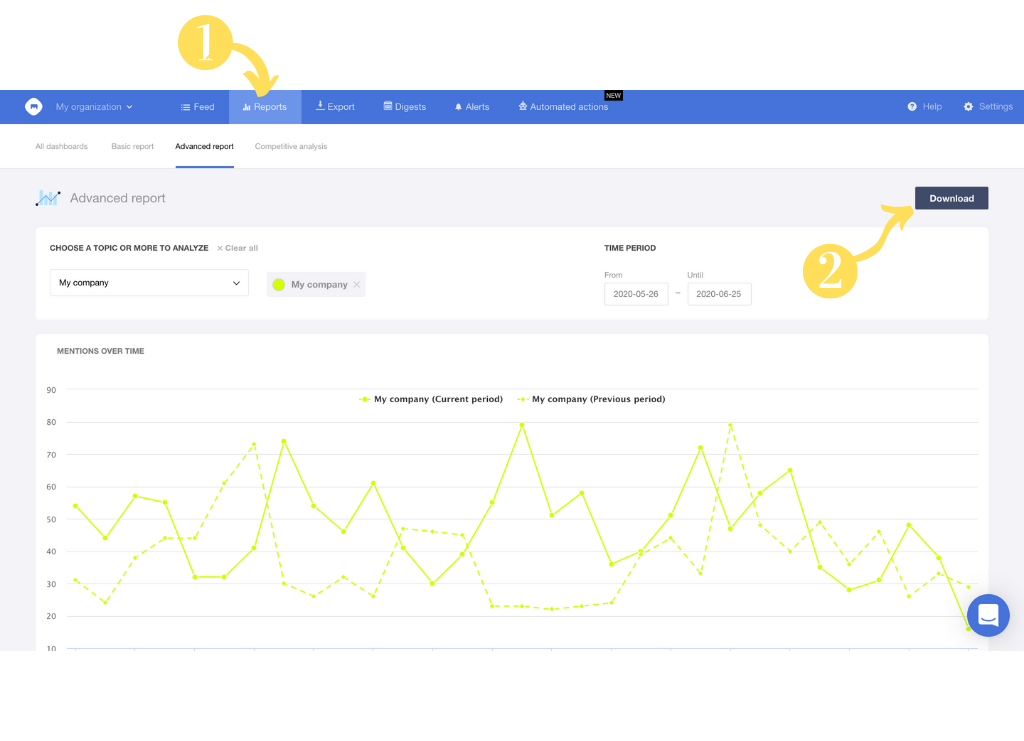
Once you’re in, open the feed of a query or folder you’d like to create a report about and click on the Reports tab. The option to directly download the report for that dashboard will always be located in the top right corner, so click on the Download button to proceed.
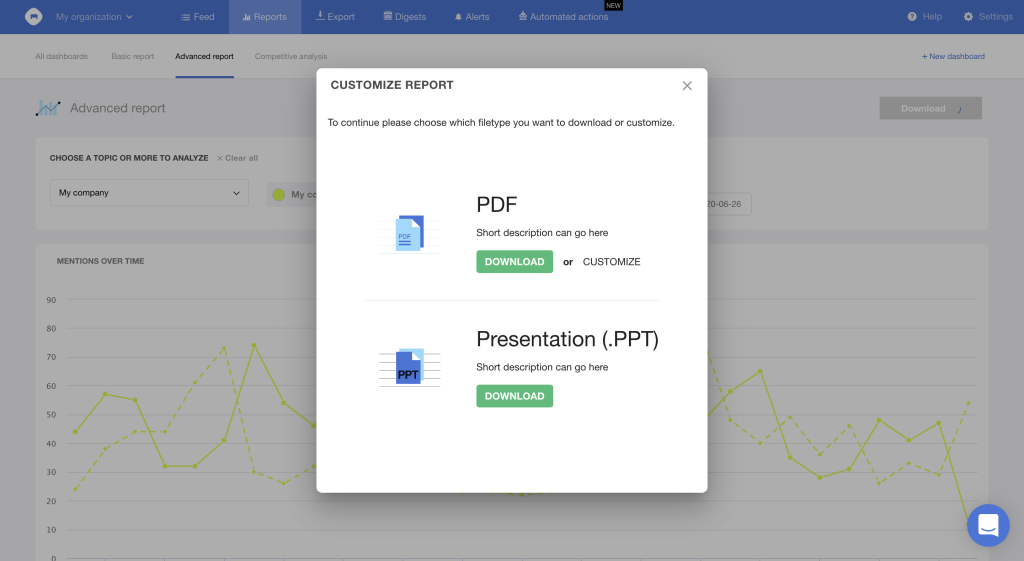
A popup will appear and provide you with options to:
- Download your standard report in the form of a PDF,
- Customize your report and download it in the form of a PDF,
- Download your standard report in the form of a Powerpoint presentation.
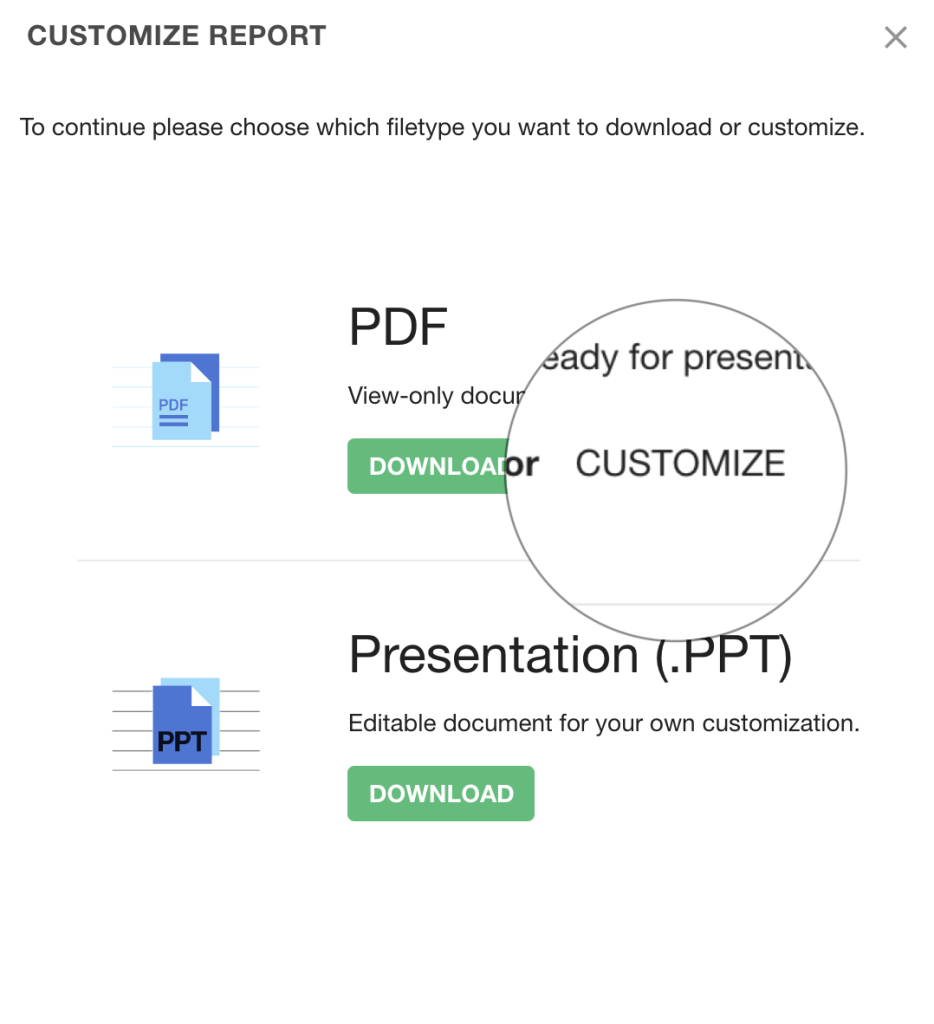
Now, to create a Branded report, click on Customize next to the Download button for the PDF form.
A new dialog box will appear, and here is where you will be able to customize your Branded report. At the very top is the Branded configurations option to which we’ll get in just a bit. As you can see, there are Basic and Advanced options just below.

Basic options
The Basic options include three steps for customizing essential elements:
- Report title and description located on the front page,
- The color of your background and text,
- Logo to show on the front page.
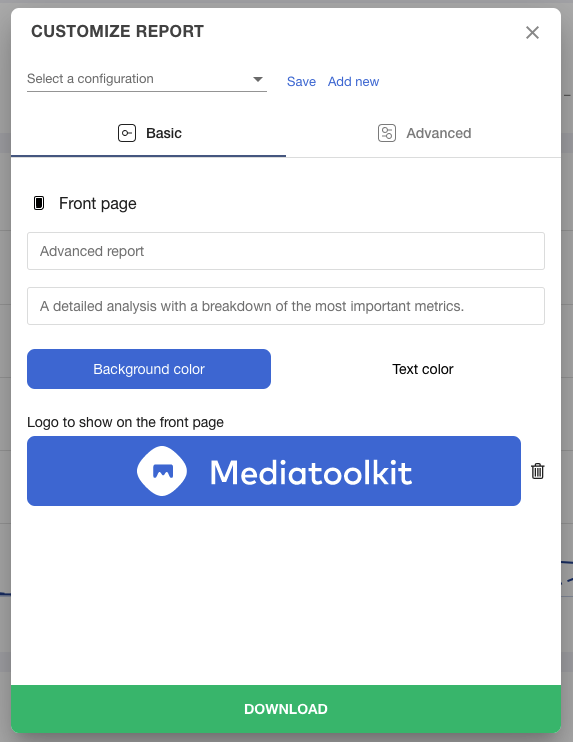
These options are pretty self-explanatory and the changes made here will be visible on the front page of your Branded report.
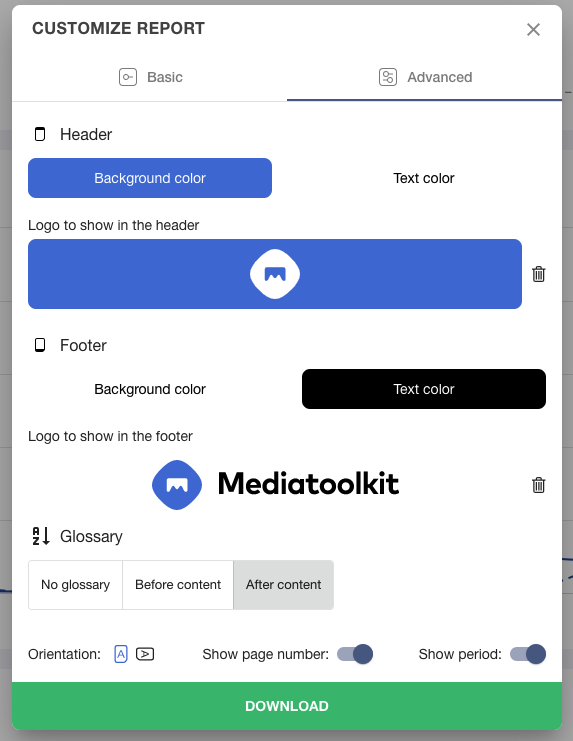
Advanced options
On the other hand, if you wish to delve deeper into the customization process and edit more than just the look of the front page, click on the Advanced options. Here you can:
- Customize header background color, text color, and logo,
- Customize footer background color, text color, and logo,
- Opt to add a glossary before or after content,
- Change the orientation of your report,
- Show or hide the page number,
- Show or hide the time period on the front page.
Now, let’s get into more detail.
Header and footer options
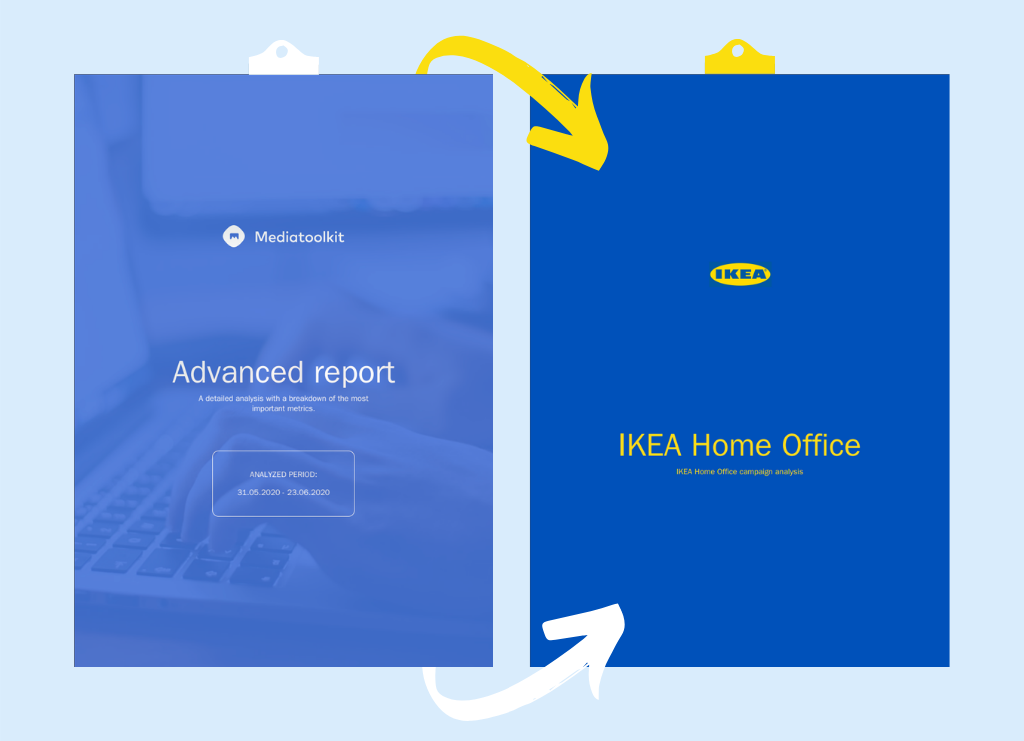
Customizing the header and footer is a great way to incorporate the logo and brand colors into your report. The header and footer can be different colors, as shown in the earlier IKEA report example that reflects the brand’s recognizable visual identity.
You can also add two different logos, which is a great option if, for instance, your agency works with multiple clients and regularly informs them about your activities and results in the form of a report.
In that case, you might curate the Branded report to be focused on your client’s branding, while also featuring your agency’s logo. To demonstrate, we created an exemplary report done by the Degordian agency for Uber.

As you can see, such a report looks very professional and adds more emphasis to your work and your client, rather than the tool you used in the process.
Color scheme options
Colors are another essential part of the brand image you can customize to match your visual identity. When changing the colors, you can choose out of the predefined ones or enter a custom hex color code.

You can also select whether you want the background color to be solid or transparent.

Additional options
After designing your header and footer, you can opt for a few additional settings.
Glossary
The first of those is choosing if you want to include a glossary and where it will be added. Whether you choose to add it to your report before or after content, here is what it will look like.

It contains a brief explanation of all the most important terms and metrics used in the report. Having a glossary comes in handy when presenting to clients or an audience that is not PR savvy to easily comprehend the report.
Orientation, page number, and time period
As previously mentioned, the final step or the customization process is to select the orientation for your report and choose whether you want to show or hide the Page number and the reporting Period.

Simply toggle the desired option to change the settings according to your preferences.
Once you’ve edited everything you wish, proceed by clicking on the green Download button. This will prompt the downloading process and your Branded report will be at your disposal in a matter of seconds.
Branded Configurations
If you’re working with numerous clients, you want to minimize the amount of time and effort put into repetitive tasks, while still delivering upon your standard of excellence. That’s why we came up with Branded configurations, an option that enables you to save your logo and brand color as a template and reuse it.
Here’s how it works.
To create a Branded configuration, click on Settings > Organization settings > Branded configurations.

Then, click on the Add new configuration button.
The process of setting up your Branded configuration is the same as creating a Branded report. After you name your preset, choose whichever settings you wish and click on Save. Your Branded configuration will now be visible in the Branded configurations list…

…as well as when customizing your report for Download. You might notice there is a Preset option at the very top. By clicking on it, you can either select an existing preset or create a new one.

To create a new Branded configuration from this window, simply configure your Branded report options and then click on Save. Then, name your preset and once again click on Save.

Your newly created Branded configuration will also be visible in your Branded configurations list under the Organization settings. From there, you can always edit or remove your presets.

Schedule Your Branded Report as a Digest
The newest update to the Branded reports feature is the option to schedule them as a digest. To do so, open the desired dashboard and look for the Digest button in the upper right corner.
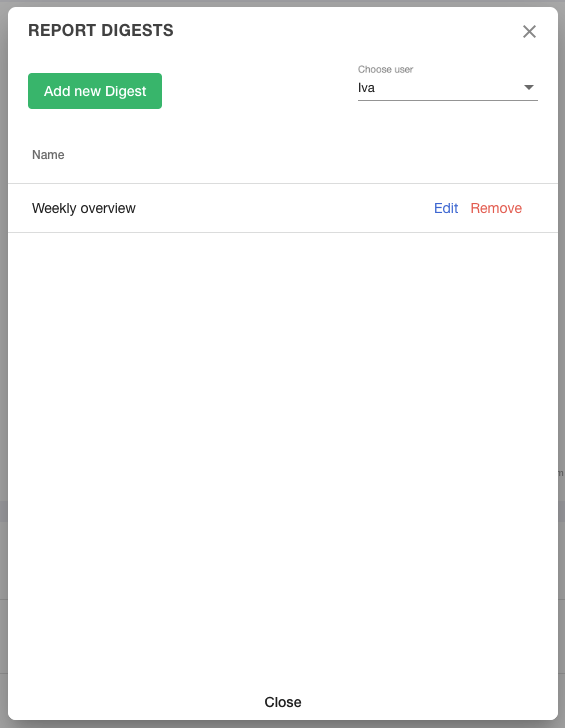
When you click on the Digest button, a new window will pop up. This is where you can see and add report digests. As with standard digests, you can create a digest for any user in your organization.

When you click on the Add new Digest button, the process is similar to setting up standard digests in Determ. Firstly, name your digest and choose your schedule. For this example, we set up a weekly overview to receive on Monday.
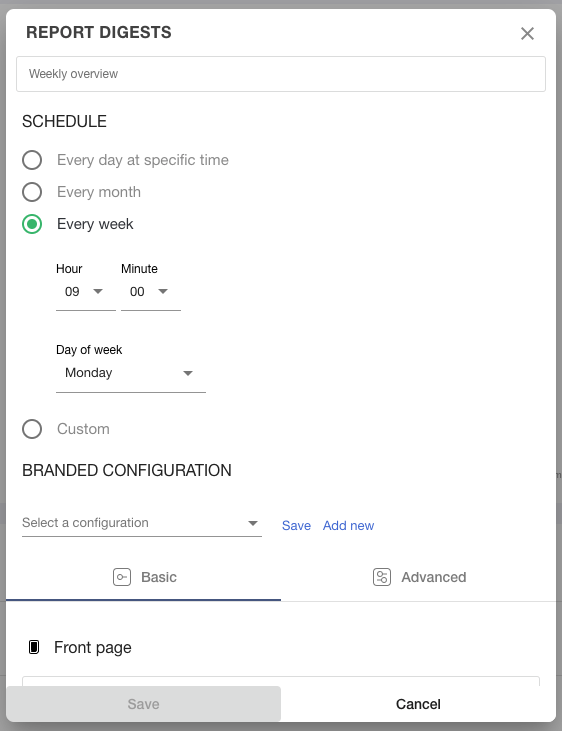
Then, choose your Branded configuration or create a new one on the spot. We have already designed a Branded configuration dedicated to a weekly report, so we can simply select it. You could also start from scratch, design a new Branded configuration, click on Add new to name it, and save it as a preset.
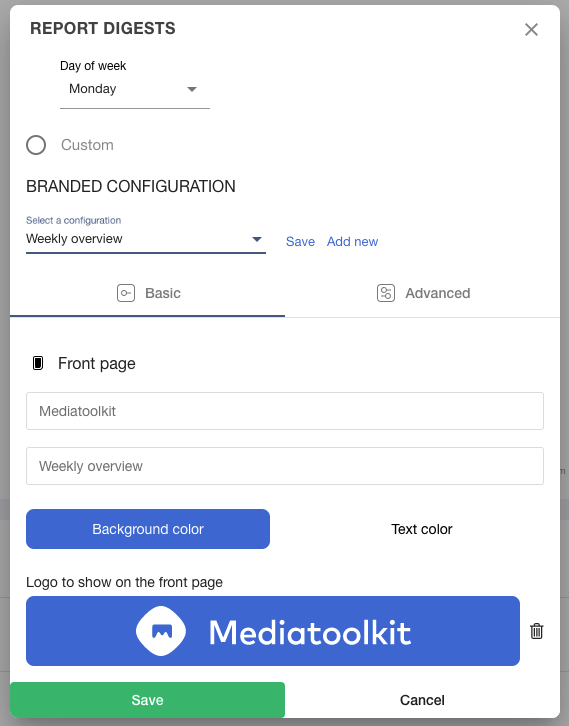
When you’re done, click on save and you’ll have your report digest scheduled.
Scheduling your Branded report as a digest is a great tool for minimizing the number of redundant tasks and automating your reporting, all while maintaining a desired visual identity and elevating your reports to a higher level. This is key when working with several clients who all expect to stay in the loop with your work.
Please note that you can set up a Report digest for a Basic, Advanced, and Custom dashboard. The Competitive analysis itself is not yet included.
Send a Newsletter
Apart from scheduling Digests, you can use the Newsletter feature.
With Determ’s Newsletter feature, you can:
- Share the latest media coverage about your company
- Highlight reactions to your campaigns, products, or services
- Showcase your company’s content from the web and social media
- Keep everyone posted about your competitors and industry trends
- Select a list of articles or posts by any criteria of your choice.
To Sum It All Up
Maintaining a consistent visual identity throughout all your company’s materials is essential for building a strong brand image, especially while reporting on invaluable media intelligence relevant to your business.
With the new Branded reports feature, you are now able to easily create stunning reports and fully customize their appearance by adding your own logo, colors, title, and much more. The new feature is available for all Determ customers starting from the Optimal plan.


